A floating window is not locked in any particular position and is always open for use. It could be even be on another screen on a multi screen system.
The converse is a Docked Window which is locked in a specific position and is always open. Having too many windows open at any one time can significantly reduce the amount of screen space available for the drawing. Where this occurs consider using the Auto Hide facility.
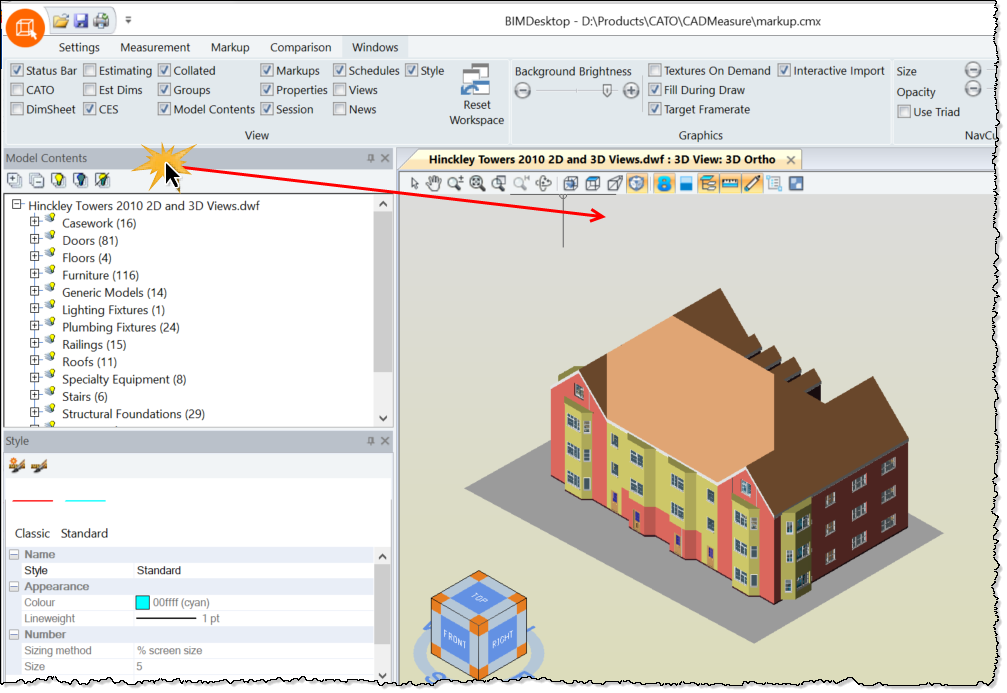
A window can be made to 'float' by dragging it from its docked location and dropping it in a convenient location or by using the Floating from the right-click menu.
Once a Window is floating, to move the window, click the window title bar and hold the mouse button down, and then dragged to the new location.
Creating a Floating Window from a Docked Window by Drag and Drop
Click the Docked Window header and, holding the mouse button, drag it to the desired location within the CADMeasure screen or onto another monitor.

Dragging a 'Docked' Window

Window now 'Floating'
Creating a Floating Window from a Tabbed Window by Drag and Drop
Click in the tab of the docked Window and, holding the mouse button, drag it to the desired location within the CADMeasure screen or onto another monitor.

Creating a Floating Window from a Docked Window by Right Mouse Click
Right-click the Docked Window header and select the Floating option.

The window will be undocked and placed somewhere on the screen. It will probably be necessary to move the window from the initial position to the desired position by clicking in the header and, holding the mouse button, drag it to the desired location within the CADMeasure screen or onto another monitor.
Re-sizing a Floating Window
A floating window can be re-sized by picking the edge of it and dragging.