Buyer administrators can define the e-mail templates that can be used to send e-mails to suppliers through Tradex. Administrators can specify a unique name for the e-mail template and can enter the context in which this e-mail template will be used. You can also specify the subject and the text that need to be displayed in the e-mails received by the suppliers.
To configure the e-mail templates, perform the following steps:
1. Click Supplier Management Configuration > Email Templates from the Administration tab.
The Email templates - list page is displayed.
2. Click the New button at the top right of the page to create a new template.
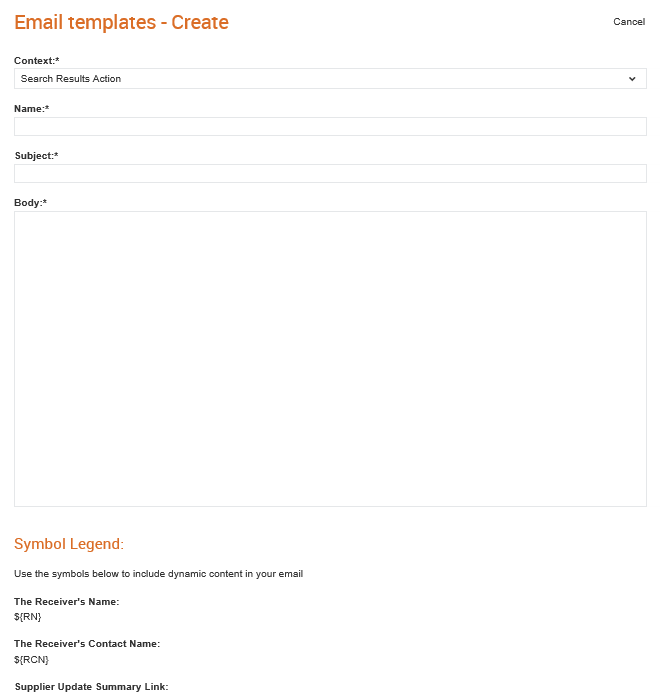
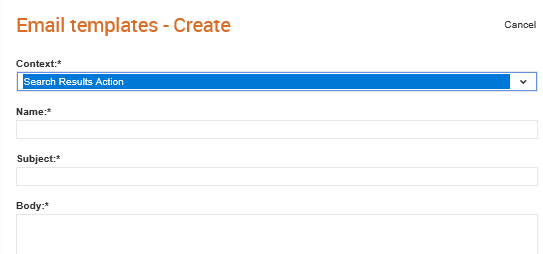
The Email templates - Create page is displayed.
3. Select any of the following context values from the Context drop-down list.
· Search Results Action: Select this option if you are creating a template for the e-mails that are sent from the Search Suppliers page.
· Add Supplier: Select this option if you are creating a template for the e-mails that are sent when new suppliers are added.
· Supplier Notification: Select this option if you are creating a template that will be used while configuring the notification rules.
· Buyer Notification: Select this option if you are creating a template to send notifications to the buyers.
4. Specify a unique name in the Name field for the e-mail template that you are creating or use the symbols from the Symbol Legend area to include dynamic content in your area.
For example, if you enter ${RN} in the Name field, the e-mail sent will automatically include the receiver name in the Name field.

5. Specify a subject for the e-mail in the Subject field.
6. Enter the e-mail text that will appear in the body of the e-mail in the Body field.
7. Click the Preview button to view a preview of the e-mail that will be sent using the configured template.
8. Click Save to save the configured e-mail template.
While configuring the e-mail templates, use the following additional codes to change the appearance of the generated e-mails:
E-mail Content |
Codes to Use |
Headings |
Headers are “underlined” using the equal (=) signs for the first-level headers and dashes (--) for the second-level headers. For example, the following is a heading: ============= The following is a subheading: ------------- You can use any number of underlines or dashes for headings. |
Paragraphs |
New paragraphs are determined by an empty line. Everything between empty lines is treated as a single paragraph. |
Emphasis (bold or italics text) |
If you use * or _ around text in your e-mail, the text will be displayed in italics. The text surrounded with double *’s or _’s will be displayed as bold. For example, if you use *single asterisks* or _single underscores_ the text will be displayed in italics. If you use **double asterisks** or __double underscores__ around the text, it will be displayed in bold. |
Links |
To create a link to a website, use the following codes: · A set of square brackets containing the text that is displayed. · A set of regular brackets containing the URL to go to when the text is clicked. There is an optional title for the link, surrounded in quotes. This generates the 'hover over' text. For example, this is [an example](http://www.example.com/ "Title") inline link. [This link](http://www.example.net/) has no title attribute. |
Images |
Embedding images resembles the syntax for links. To embed images, use the following codes: · An exclamation mark ! · A set of square brackets, containing the text that is displayed when the image is not loaded. · A set of regular brackets, containing the URL or path to the image. There is an optional title for the image, surrounded in quotes. This title generates the 'hover-over' text. For example,  and  |
Lists
|
You can include ordered (numbered) and unordered (bulleted) lists in your e-mails. For unordered lists, use asterisks, pluses, and hyphens — interchangeably — as list markers, as shown in the following examples: * Red * Green * Blue is equivalent to: + Red + Green + Blue and: - Red - Green - Blue For ordered lists, use numbers followed by full stops, as shown in the following example: 1. Bird 2. McHale 3. Parish The actual numbers you use to mark the list have no effect on the end result. In other words, if you create a list like the following one, the output will be the same : 1. Bird 1. McHale 1. Parish or even: 1. Bird 8. McHale 5. Parish The following will be the output: 1. Bird 2. McHale 3. Parish |