Tradex users can create online invoices if they have the required privileges. The steps to create online invoices include creating the header information, adding the line information and adding attachments if there are any. You can add attachments only if the receiver has enabled the settings to receive them.
Based on the business rules set up, you may have to enter the PO number while creating an online invoice. If you want to use discounts or charges, check with your partners whether this information need to be entered at the line level or not.
Note: If you are using a currency other than GBP, then ensure that both partners have set up the foreign currency in their systems. Also, tax labels can be configured on a country by country basis to display a term other than VAT, such as GST, to be displayed on the invoice headers and the line fields.
To create an online invoice, perform the following steps:
1. Click Send > Create online invoice from the Document Exchange tab.
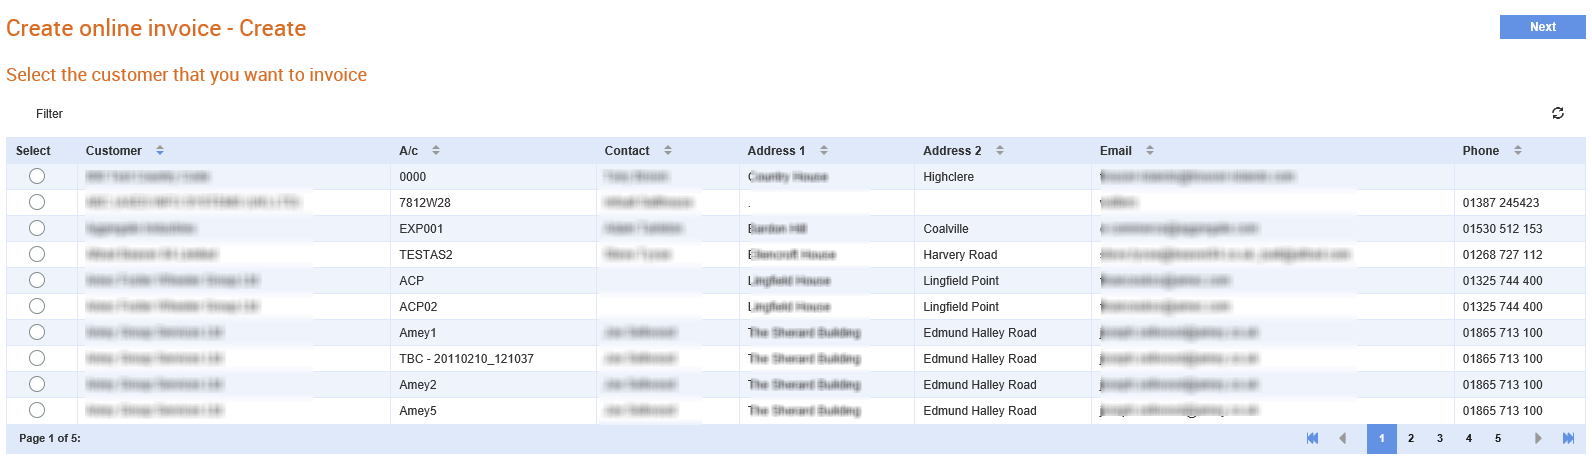
2. Select the check box next to the customer that you want to invoice from the list displayed and click Next at the top right of the page.
The Create online invoice - Invoice Creation page is displayed.
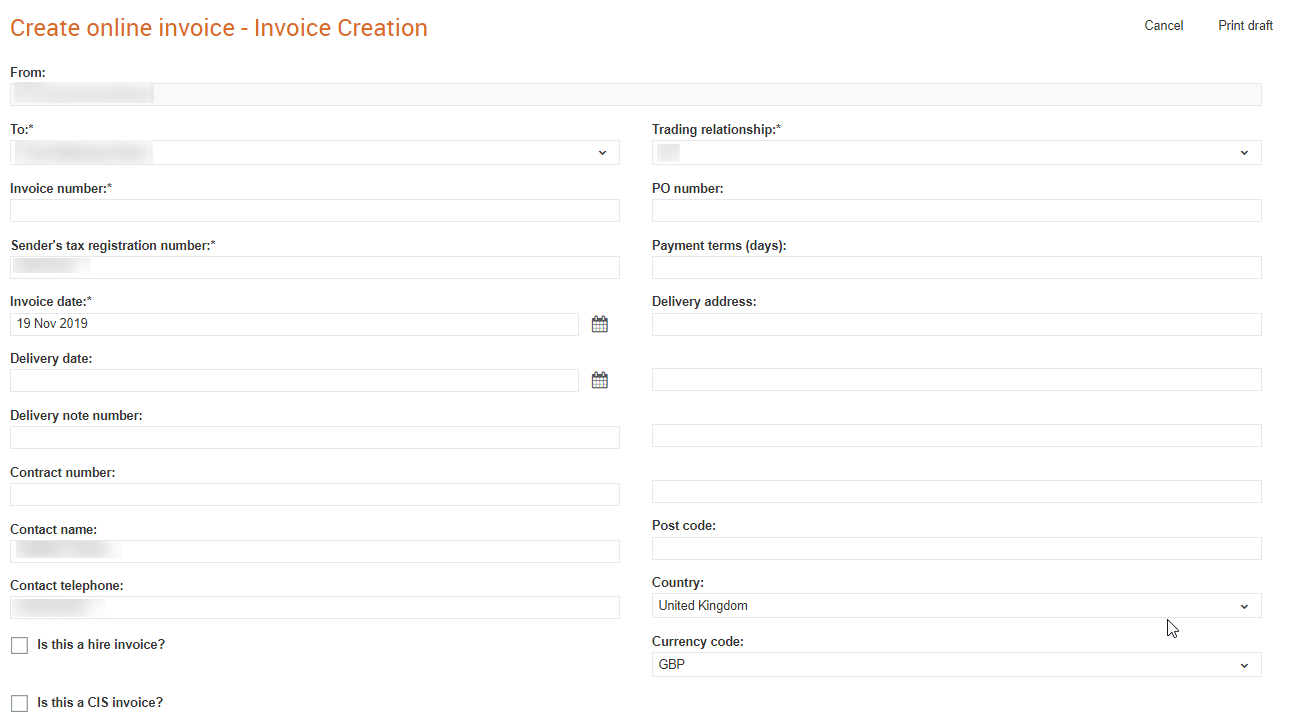
3. Enter the required information as described in the following table:
Note: Depending on your configuration, the PO number might be validated or used to populate the legal entity. For more information, see Creating a Receiver Rule.
Field name |
Description |
To |
The trading partner to whom you are sending the invoice. |
Trading relationship |
Select a value from the drop-down list. This is the primary value that is used by the sender to identify the receiver |
Invoice number |
The invoice reference number. |
PO number |
The PO number that relates to this invoice. |
Sender’s tax registration number |
The sender’s VAT number. |
Payment terms (Days) |
The period allowed to pay off an amount that is due. |
Invoice date |
The date of the invoice. Change the date if it is not equal to the current date. |
Delivery address |
The address to which the goods and services are to be delivered. |
Delivery date |
The date of delivering the invoice. |
Delivery note number |
The reference number from the delivery note. |
Contract number |
The reference number for the contract. |
Contact name |
The contact name for your business. |
Post code |
The customer’s post code. |
Contact telephone |
The contact phone number for your business. |
Country |
Select the country of operations from the drop-down list. |
Is this a hire invoice? |
Select this check box to get additional line items in or options in your invoice. |
Is this a CIS invoice? |
Select this check box to mark it as a CIS invoices. CIS invoices have an additional option when adding a line to distinguish between labour and materials. |
Notes |
A brief explanation on the invoice if required. |
Currency code |
The currency code for the selected country. |
Delivery address |
The customer’s delivery address. |
Add discounts or charges |
Select this check box to enter header-level or line-level discounts or charges. |
Save as a template |
Select this check box if you want to use this online invoice form for creating invoices in the future. |
Note: You must fill in all the mandatory fields, which are marked with an asterisk sign (*).
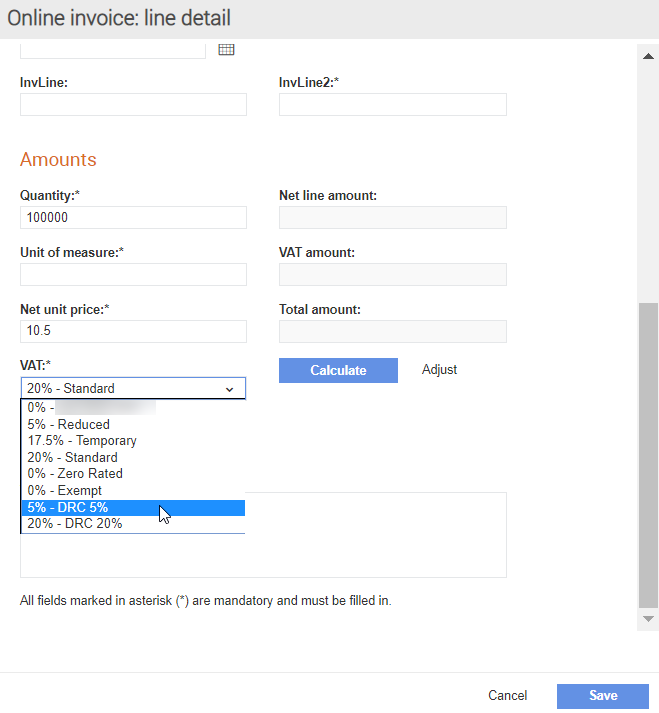
4. Click Add Line to add more lines in the pop-up window displayed and to include the following information:
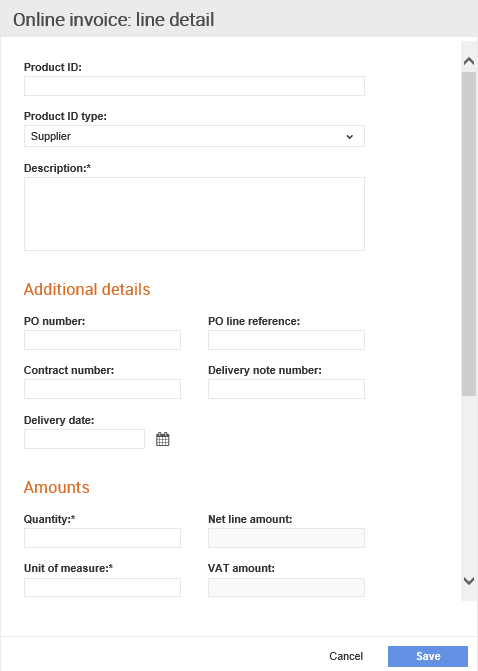
· Product ID: The product or service identification reference.
· Product ID type: This indicates whose identification reference was used for the product ID.
· PO number and the PO line reference: These are additional details. You generally do not need to add the PO number or the Delivery note number. This is because the information will be taken from the header unless your partner requires this information, or the information is different from that in the header. Most partners only accept one PO number per invoice and may reject the invoice if the PO number is different from the header.
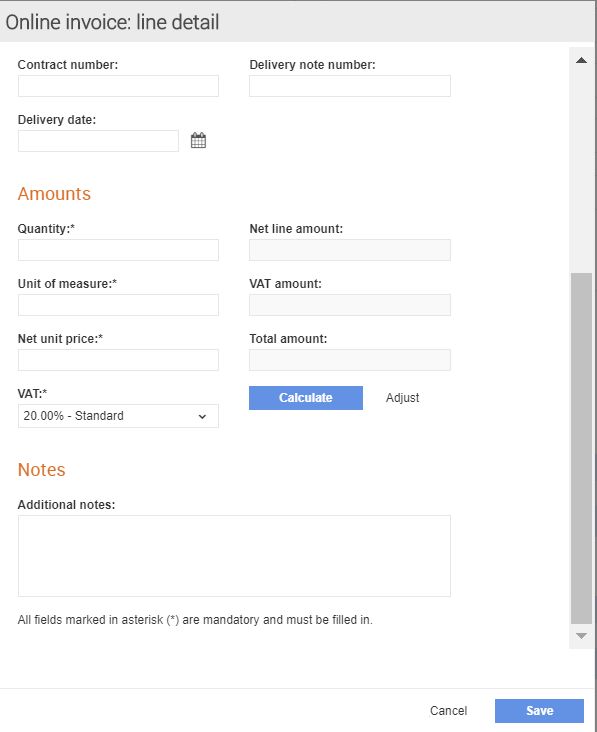
· Amounts: Fill in mandatory fields such as Unit of measure, Net unit price, VAT or GST. Select the applicable rate from the VAT or GST drop-down list. You must click the Calculate button to calculate the total amounts. Ensure that you do not use commas to separate amounts. To edit the values, click the Adjust button.
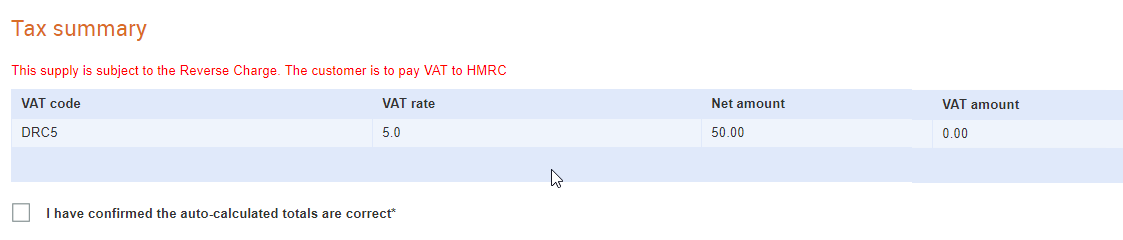
Note: When viewing a CIS invoice in Tradex in the HTML or in the PDF format, lines identify whether they are labour, or materials and the labour and materials totals are displayed.
· When a CIS invoice is saved, the tax summary information is displayed, as in the following figure:
· Notes: Additional notes about the invoice.
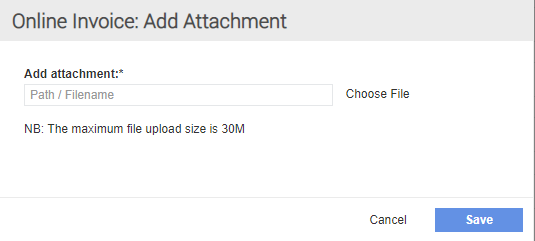
5. Click Add Attachment, and then click Choose File if you want to add an attachment to the invoice.
6. Click Save to create an online invoice.
A new online invoice is created with the details specified.
7. Click Submit after you have verified all the details.