
Buyer administrators can create or add new suppliers in Supplier Management. When a new supplier is added, the system checks whether the same supplier details exist in the system or not. This helps in preventing creation of duplicate records of suppliers or companies in the system.
The Add supplier - Create page that is displayed is based on the sections set up by the buyer administrator (Supplier Management Configuration > Supplier Sections > Vendor Details page).
To add a new user as a PQQ contact, the e-mail address of the new user must match a user within the same supplier company. The new user will then be added as a free of charge user.
If the user's e-mail address matches with a user of a different company, the user cannot be added as a PQQ contact. If so, Tradex displays an error message.
To create a new supplier, perform the following steps:
1. Click Manage > Add supplier from the Supplier Management tab.
The Add supplier - Create page 1 of 3 page is displayed.
2. Enter the following details for the new supplier, as mentioned in the following table:
Field name |
Description |
Name |
Enter the company name. |
Registration Number |
The registration number of the company. For example, Companies House |
VAT Registered? |
Select this check box if the company is VAT registered. |
VAT Number |
The VAT number of the supplier. |
The e-mail to use for Tradex enquiries. |
|
Postcode |
The post code where the company is located. |
Country Code |
The country code of the country where the company is located. |
3. Click the Next button to find whether there are many matching partners.
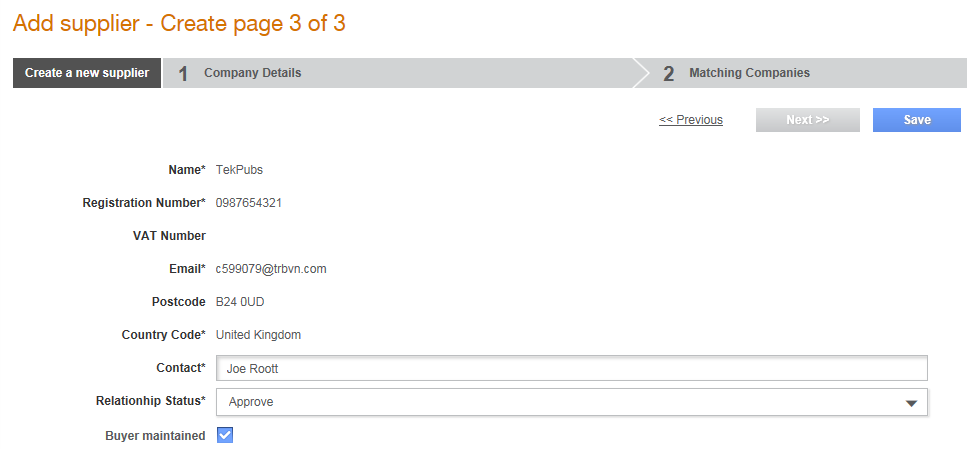
4. Enter the main contact's name in the Contact field.
5. Select Approve or Supplier Maintained Relationship from the Relationship Status drop-down list.
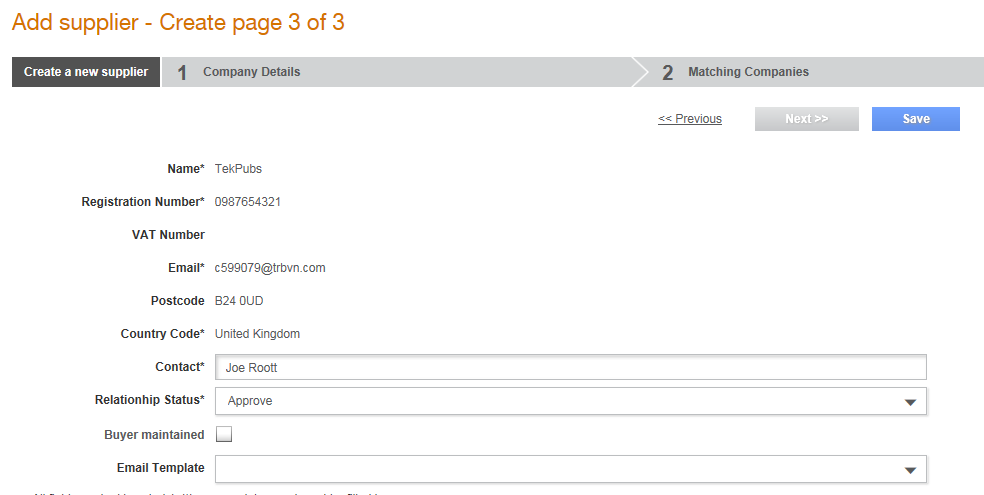
6. Select the Buyer Maintained check box if you are a buyer and you want to maintain the supplier details.
7. Select an option from the Email Template drop-down list if you have not selected the Buyer Maintained check box, as mentioned in the previous step.
8. Click the Change contact button if you want to add a new PQQ contact.
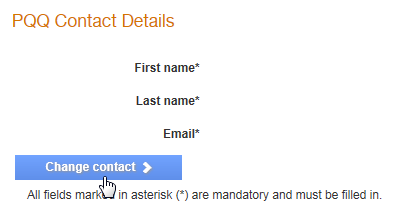
9. Enter the first name, last name and the email address in the respective fields on the Create PQQ Contact pop-up window that is displayed.
The new supplier is created as a free of charge user.
10. Click Save.