Based on the reasons for which the invoices were rejected, you can amend the following details in rejected invoices:
· Edit the header details. You can edit the PO number if it does not match the receiver's business rules. Typically, invoices are rejected because of invalid PO numbers.
· Edit the line details.
· Change the trading partner to whom you are sending the invoice. Note that this will automatically change the Invoice to address.
After you correct the errors in a rejected invoice, you can resubmit the invoice. On resubmitting a rejected invoice, the system again checks the business rules to ensure that everything is valid. Once a rejected invoice is resubmitted, the status of that invoice changes to Resubmitted.
Note: You can also resubmit one or more rejected invoices without making any changes. Click the Resubmit button to resubmit invoices without any changes.
To amend the rejected invoices, perform the following steps:
1. Click Sender’s Toolkit > Remove Rejected invoices from the Document Exchange tab.
The Rejected invoices - list page is displayed.
2. Click a name under the Batch Name column to display the header details of the invoice.
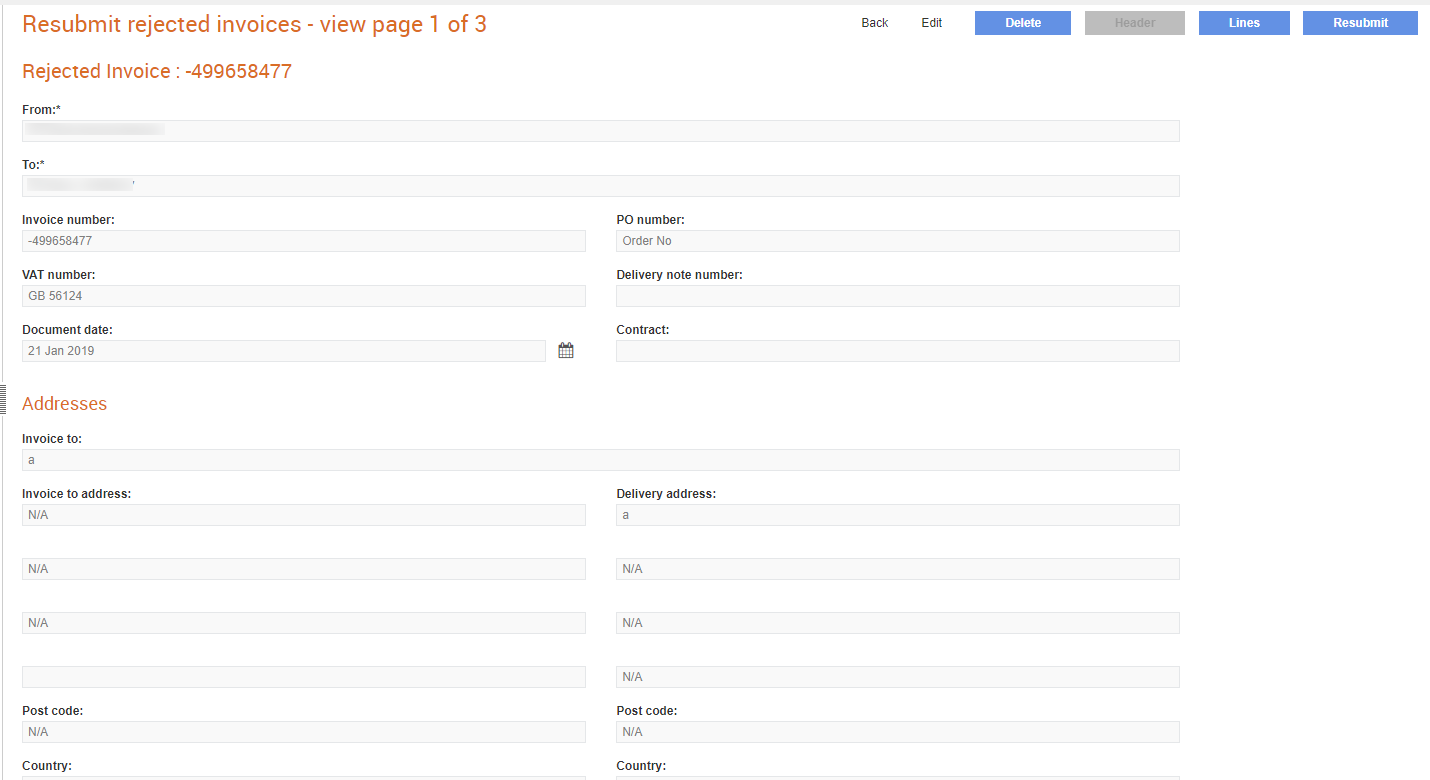
3. Click Edit to amend the header details of the rejected invoice.
The details you cannot edit are displayed as greyed out. Here, the Header details cannot be edited.

You can edit the Invoice to and the Delivery address fields also. If the error is only in the invoice header, you can edit the header details, and then resubmit the invoice.
4. Click Lines to edit the line details of the rejected invoice. You cannot edit all the line-level fields in the rejected invoice.
5. Click the line number displayed to edit the line details displayed. For example, 1.

6. Click Save to save the line-level details you have edited.
7. Click Resubmit after you have finished editing all the details.
The list of resubmitted invoices can be viewed from the Batch Management > Batches in progress list page.