The Tradex Manage User functionality permits a manager to ‘act as’ a subordinate and assume their roles and permissions. This is useful when the staff may be off sick or on holiday.
You must be a manager to edit other user’s details.
To manage users, perform the following steps:
1. Click Manage Users > List Users from the Administration menu.
The List users-List page is displayed.
2. Click a login name displayed to view the user’s details.
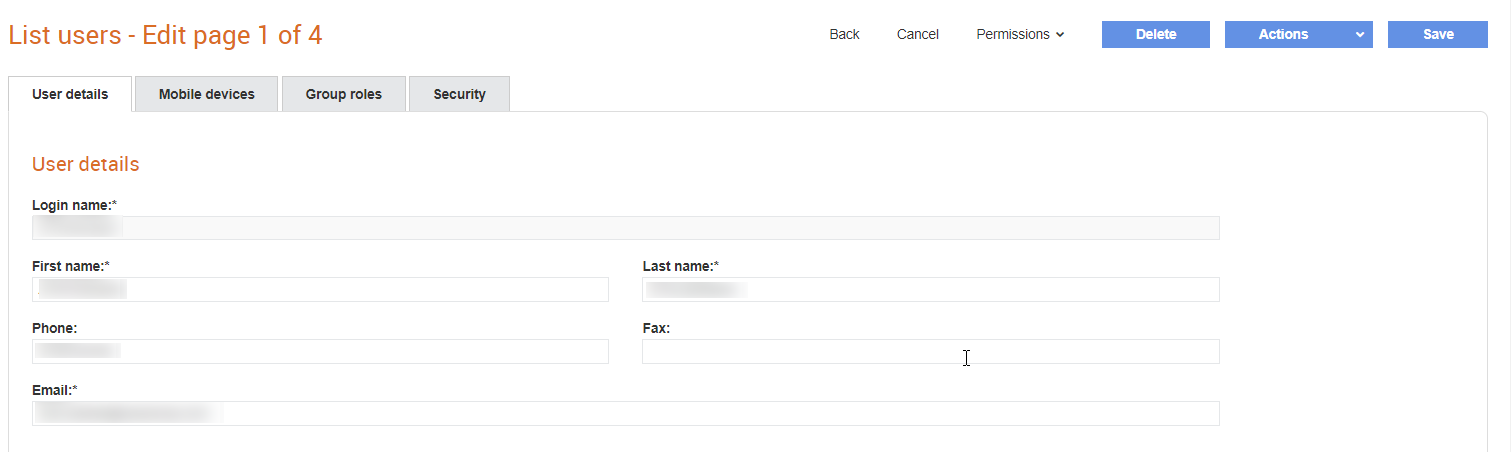
The List users-Edit page is displayed.
The information displayed here is categorised into the following:
· User details: This section displays the login name of the users, the first name and last name, contact details such as phone, e-mail and Fax.
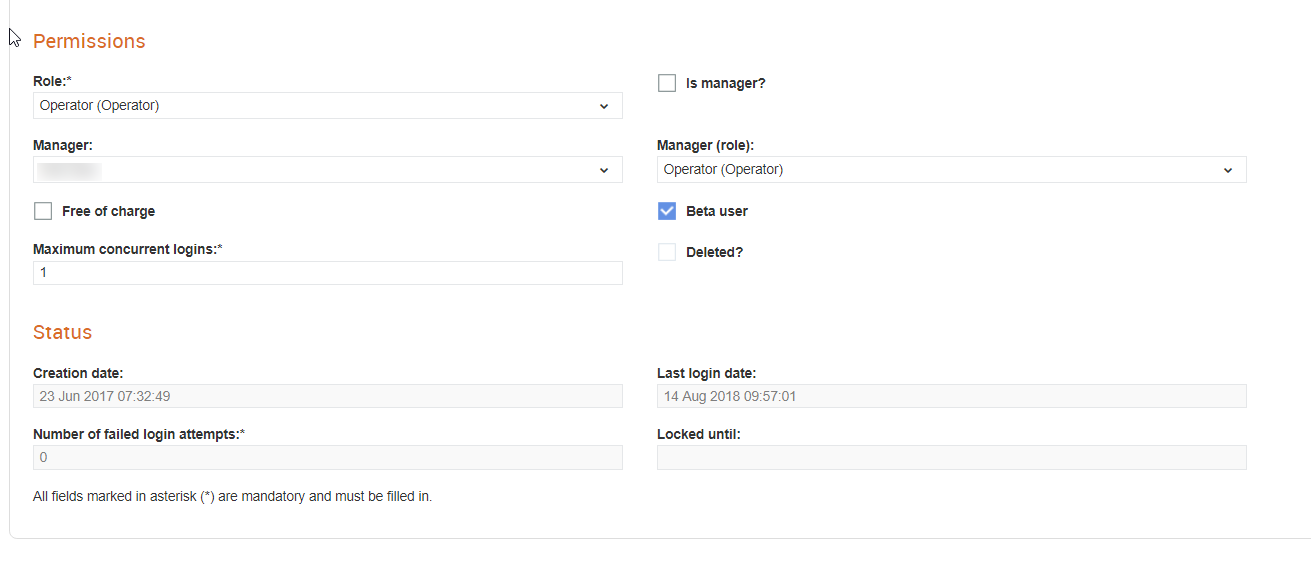
· Permissions: The permissions assigned to the user.
· Status: This section displays the following information:
o Creation date: The date on which the user was created in the system.
o Last login date: The date on which the user last logged in to the system.
o Number of failed login attempts: The number of times the user has tried to log in, but had failed.
o Locked until: The time only after which the user can log in to the system.
3. Click the Mobile devices tab to view the user’s mobile device details, such as the Device Name, Operating System and the Operating System Version.
4. Click the Group roles tab to view the user group roles available to the user. You can select and assign a role to a user by clicking on the respective check box under the Member column. For example, Batch Manager, Operator, Supply Chain Administrator, and so on.
While assigning roles, the user needs to know the levels of permissions assigned to each role. To view the details of permissions assigned to each role, go to Administration > Manage user roles, and then select a user role.
Note: Select the Beta user check box to allow the user to try the Beta features released by Tradex. For information on the Tradex Beta features, see the Tradex Beta Online Help.
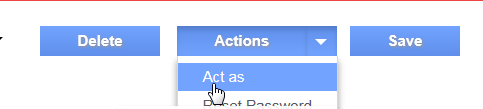
5. Click the Actions drop-down list and select Act as to temporarily assume the selected user’s role.
6. Click Save if you have completed editing the details of the selected user.