To create a new upload setup, perform the following steps:
1. Click Upload Options > Configure upload options from the Administration tab.
The Configure upload options - list page is displayed.
2. Click the Create button at the top right of the page.
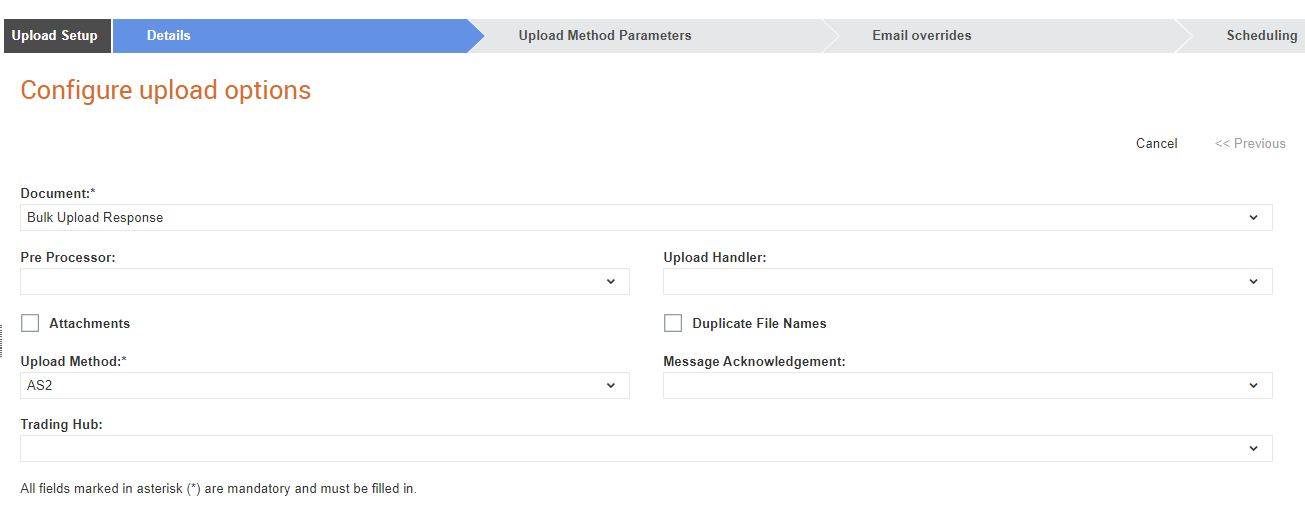
The Configure upload options - Create page is displayed.
3. Enter the following details in the fields displayed, and then click Next.
Field name |
Description |
Document |
The document type to be associated with this attachment. For example, Invoice or Lookup file. |
Pre Processor |
Select the pre processor (The pre processor typically performs operations to prepare the data for processing).For example, multisender or Lookup. |
Upload Handler |
Select the relevant option from the drop-down list. For a Lookup file, select lookup, lookupDB, or lookupDBPartial. If you select lookupDBPartial, the system will not overwrite the existing Lookup data based on a key field when multiple lookup files are imported. Choose lookupDBiterative to create, update and delate records in an itervative manner. |
Attachments |
Select this check box if you want the system to check for attachments |
Duplicate File Names |
Select the check box if you want to allow duplicate file names. |
Upload Method |
Select the transport method from the drop-down list. |
Message Acknowledgement |
Select the handler to be used to acknowledge delivery and receipt of documents. |
Trading Hub |
Select the trading hub used to send or receive data. |
4. Click Next to add the automatic upload parameters (for example, using FTP).
The fields displayed under the Auto Upload Parameters tab varies based on the transport method you have selected from the Transport class drop-down list.
5. Click Next to add the Email overrides, as shown in the following table. This is an example for the Email upload method.
Field name |
Description |
Upload Error Email |
Specify the e-mail address to which error messages must be send to. |
Translation Error Email |
Specify the e-mail address to which error messages during translation must be send to. |
Routing Error Email |
Specify the e-mail address to which error messages during routing must be send to. |
Business Rule Error Email |
Specify the e-mail address to which error messages due to business rules error must be send to. |
Download Error Email |
Specify the e-mail address to which error messages during download must be send to. |
Notification Email |
Specify the e-mail address to which notification reports must be send to. |
Notification Exception Email |
Specify the e-mail address to which exception notification reports must be send to. |
Transport Class |
Select the transport method used to upload the data. For example, AS2, Email or FTP. |
6. Click Next.
The Scheduling page is displayed.
7. Enter the following details if you want to schedule the document uploads.
· Click the Scheduled check box to set up the frequency of uploading documents.
· Specify on which day of the week the scheduler must run in Days. Leave the check box blank if you want to upload documents daily.
· Enter the earliest time when the report should be generated in Start time and the latest time when the report should be generated in the Last time. In Interval, enter the minimum interval between generating two consecutive reports. The Last run date will display when the report you have created was last generated. The Next run date will display the future date on which the report will be generated.
8. Click Save.