Buyer administrators can configure custom-level header fields and line-level fields in online documents such as requisitions and invoices. Examples of custom fields that can be configured include contract and activity codes.
The following procedure explains how you can configure custom fields for an online requisition.
To configure custom fields for online requisitions, perform the following steps:
1. Click Upload Options > Online document fields from the Administration tab.
The Online document fields - list page is displayed.
2. Click New at the top right of the page to create a new online requisition configuration.
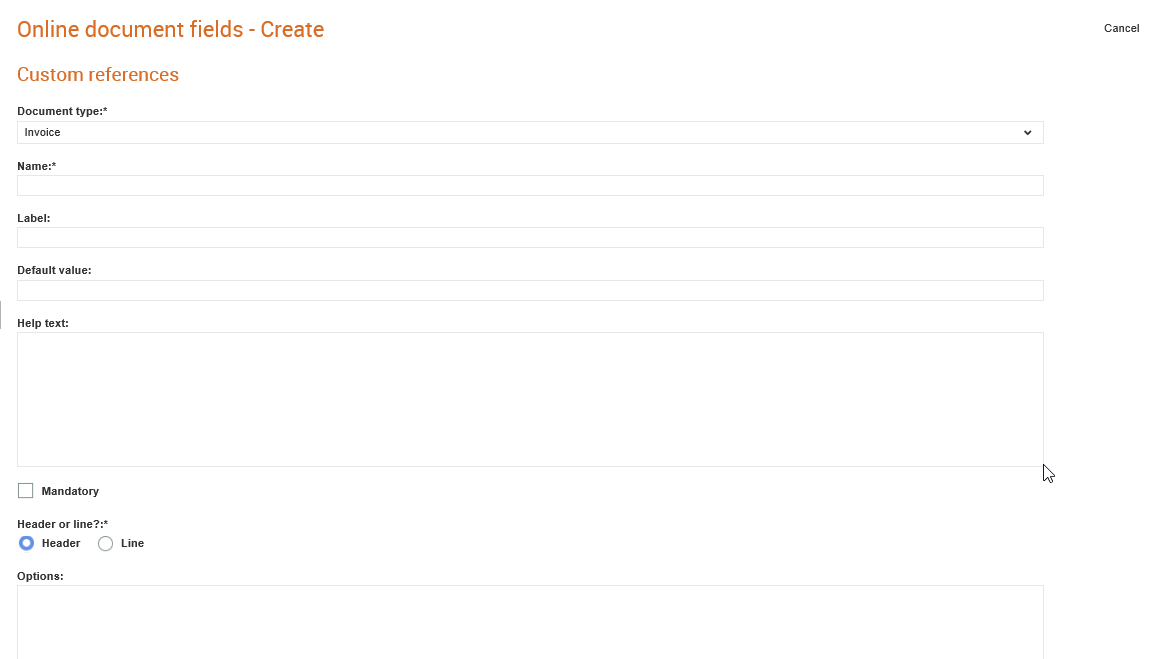
The Online document fields - Create page is displayed.
3. Select the type of document from the Document type drop-down list. For example, Requisition.
4. Enter the following details as mentioned in the following table:
Field name |
Description |
Document type |
Select Requisition from the drop-down list. |
Name |
Enter the name of the field type that you want to add to a requisition. For example, Text field or Select field. |
Label |
Enter the label of the field that is displayed in other forms. |
Default |
Enter a default value for the custom field. For example, if the custom field is a drop-down list, enter the default value that the list displays to users. |
Help text |
Enter any information that you find will be helpful and will be shown when the mouse pointer is hovered over the label. |
Mandatory |
Select this check box if you want the custom field that you are configuring to be a mandatory field. |
Header or line |
Select the Header option if you want the custom field to appear on the header of the E-Requisition. If you want the field to be displayed at the line-level, select Line. |
Options |
If the new field should be a drop-down list with options, instead of a free text entry field, enter the options that will be displayed to users for the custom field. |
5. Click Save.