
The Markups panel provides the means to manage the markups added to the session via the options on the ribbon tab: Markup > panel: Markup as described in the topic Marking Up Drawings
To access the Markups panel ensure that the Markups check box is selected in the View panel of the Windows ribbon.
This will display the Markups panel which can be moved and docked. For more information, see Controlling Areas of the Screen.
If the Markups check box is selected, but the Markups panel is not displayed, click on the Markups tab at the bottom of the window.
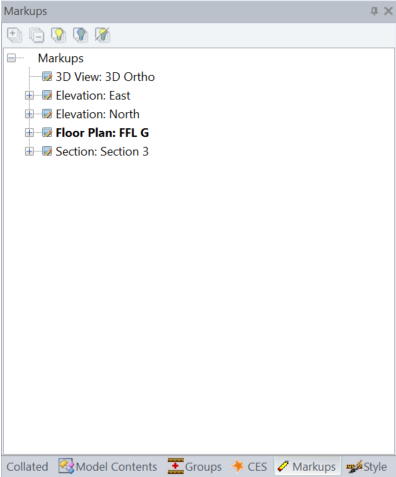
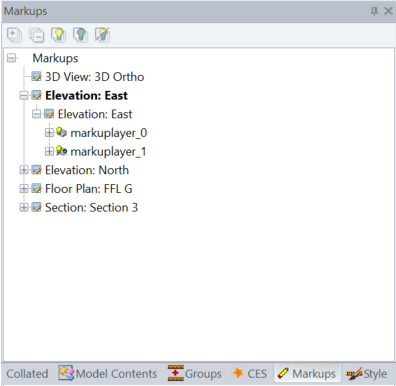
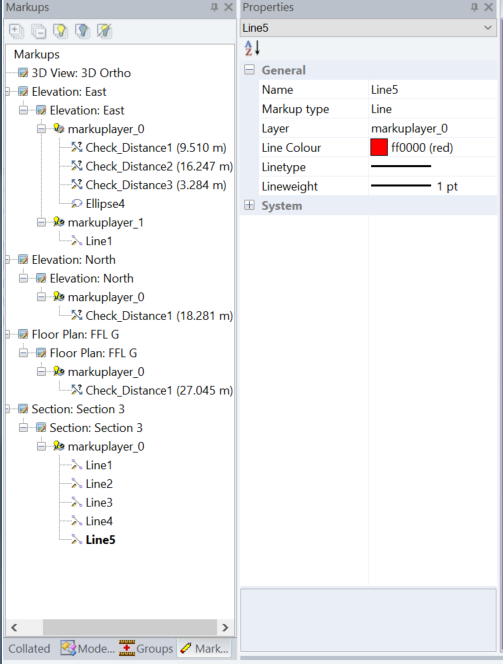
The Markups panel contains tree listing all of the drawings in the current session. Below each drawing is a list of the Markup layers it contains, and below each layer us a list of the markup items on that layer. Click the + or – icons to expand or collapse the lists.
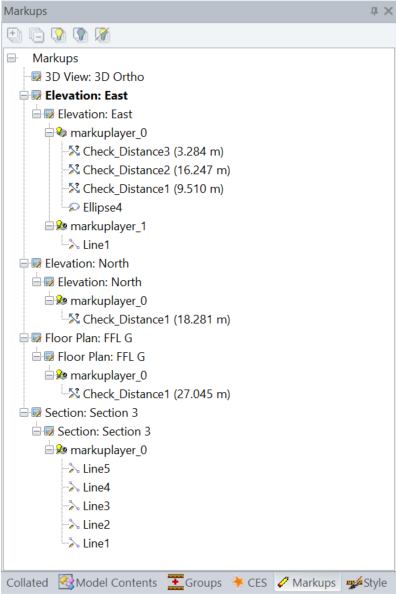
Each markup object is assigned a name with a sequentially incrementing number as they are added to the drawing. An example of each markup type is shown below.
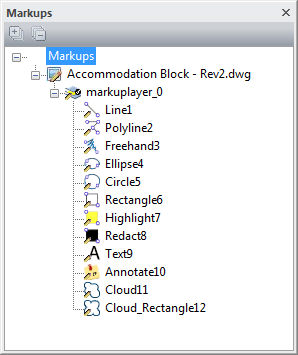
For the detailed information on adding the different markup types, see Marking up Drawings.
Markup Item Editing
To access the markup editing options, select a Markup item in the tree view and right-click.
The Markup editing options for a markup item are:
· Delete Item – Deletes the selected Markup item from the tree view and the drawing
· Rename Item – Enables the renaming of the selected Markup item in the tree
· Zoom to Item – Fill the Drawing Viewer with selected Markup item
When a Markup item is clicked on in the drawing view or selected in the Markup tree, the properties of that item are displayed in the Properties panel. Depending upon the item selected, different properties are displayed, some of which may be changed. To change a property value click in the value column and select from the options presented. The text for a Text or Annotate (Post-it) Markup can be changed by typing directly in the property value column.
Markup Layers
Markup items can be placed on different, user defined layers. In addition to the Markup editing options there are also a number of Markup layer options accessible via the right-click option in the Markups Window.
The menu options enabled at any moment in time will depend on what node is currently selected in the tree.
The layer options are:
Menu Option |
Description |
Activate Layer |
Make the currently selected layer the default layer for all subsequent Markup additions |
Delete Layer ** |
Delete the currently selected layer and all Markups on that layer – note that no confirmation option is presented when selected from the right-click menu |
Load Layer ** |
Load a layer and all the Markups on that layer that have been previously saved in an external (*.hsf). Navigate to the location of the file and select the required one, a layer will be created using the filename providing that it does not already exist in the tree. See notes on Saving and Loading Markup Layer Files below. |
New Layer ** |
Create a new layer and add it to the tree (a unique name will be automatically generated) |
Rename Layer |
Enables the renaming of the currently selected layer in the tree. Layers may also be renamed by double-clicking on the layer name in the tree. |
Save Layer ** |
Allows the currently active layer and all its Markups to be saved to an external (*.hsf) file. Navigate to location where the file is to be saved and either accept the default name or specify a new name. See notes on Saving and Loading Markup Layer Files below. |
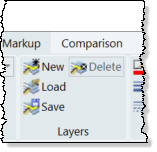
Layer commands marked ** above are also available on the ribbon tab: Markup > panel: Layers
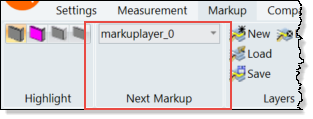
Layers may also be activated from the ribbon tab: Markup > panel: Next Markup. Select the layer for the next Markup to be placed on from the drop down list.
Saving and Loading Markup Layer Files
The Markup Layer Save and Load features enable Markup content to be saved to external files making it independent of measurement sessions which opens up a number of improved workflow possibilities.
For example:
Working with other CADMeasure users whether at other locations or in the same office. Your Markups are saved to the external file which is then sent to another user to process. In the meantime you carry on working on your measurement sessions whilst they load the Markup file onto their CADMeasure system together with the relevant drawing file(s) from the server so the two are overlaid together. They don't even need a CADMeasure session to edit the Markups or create a new Markup layer in response. They save the content to an external file(s) and send the resultant files back which you then load into your session and action the responses accordingly.
Replicate Markup content across several drawings; Markup the ground floor
drawing, save and reload for the first floor drawing where it can be edited
as required etc.
CADMeasure Markup layer files are compatible with the Causeway Viewer application so:
· CADMeasure Markup layer files can be loaded over a drawing in Causeway Viewer
· Causeway Viewer Markup layer files can be loaded in CADMeasure