Buyer administrators can define and maintain rules for events to start key actions, such as notifications to suppliers and buyers or triggering of database changes when these events occur. The rules can be set for the following example events:
· Notify suppliers that they need to update their details.
· Notify buyers that suppliers have updated their details.
· Notify buyers that suppliers have expired.
· Set a relationship status value when the supplier details expire.
· Start a workflow process when a supplier is approved.
· Create a trading relationship when a supplier is approved.
· Create a trading relationship from an action set up in a notification rule. This notification upgrades an existing Tradex company into a Tradex Portal company with a user and it can start trading with suppliers after the necessary approvals.
· Update a supplier value (own value) by using a workflow.
· Create a relationship between a supplier and a data source company so that the suppliers’ data will be available in the data source (by using the Create relationship with external data source companies function).
Notifications set for a buyer company now include updates made in an external data source company if it has been configured.
To create notification rules for trading relationships in the sub company of the buyer’s company, see Configuring Notifications for Sub Companies.
Note: You can create multiple actions at a time. For example, suppliers will receive an e-mail from buyer administrators when a notification rule is run because of a corresponding change or event in the system.
To configure notifications, perform the following steps:
1. Click Supplier Management Configuration > Notifications from the Administration tab.
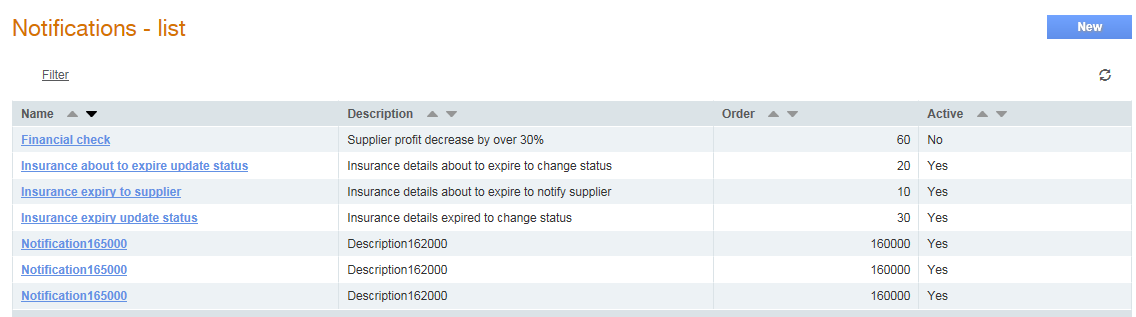
The Notifications - List page is displays a list of notifications if you have already configured a few notifications.
2. Click New to add a new notification.
The Notifications - Create page is displayed.
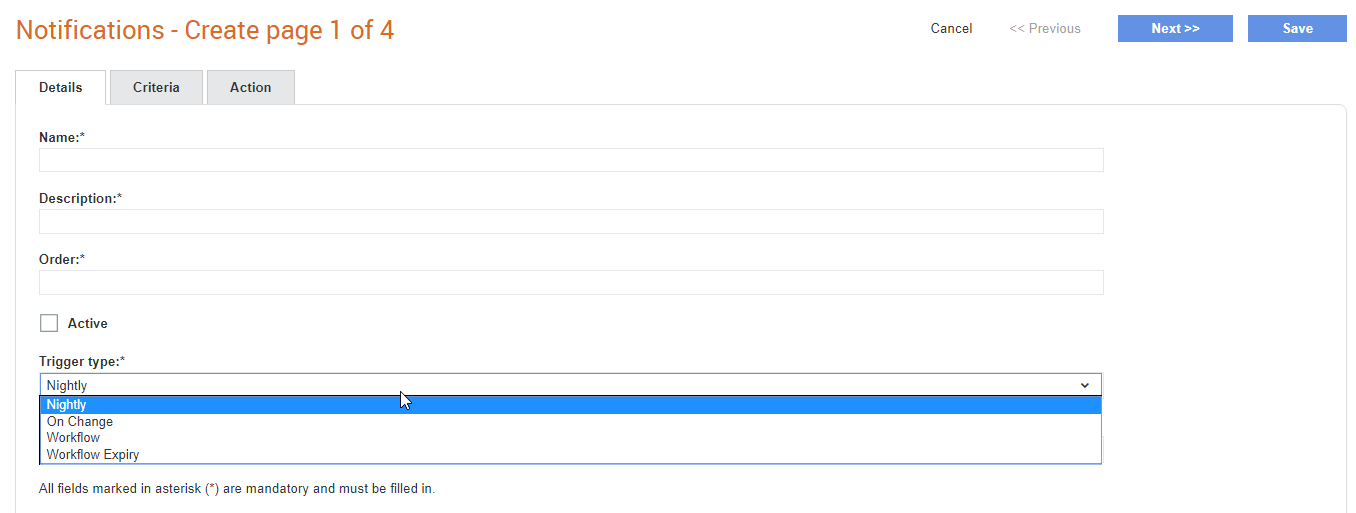
3. Enter the following details:
· Name: Enter a name for the notification.
· Description: Enter a description for the notification name.
· Order: Specify the order in which the rule must run. This is used for the nightly rules that need to run in a specific sequence, because one rule may affect another. For example, a check for an expiry date that sets a value which is checked in a subsequent rule.
· Active: Select this check box if you want this notification to be in the active status. If you do not select this option, the notification rule will not run.
· Trigger Type:
o Select the Nightly option for the notification to run every night.
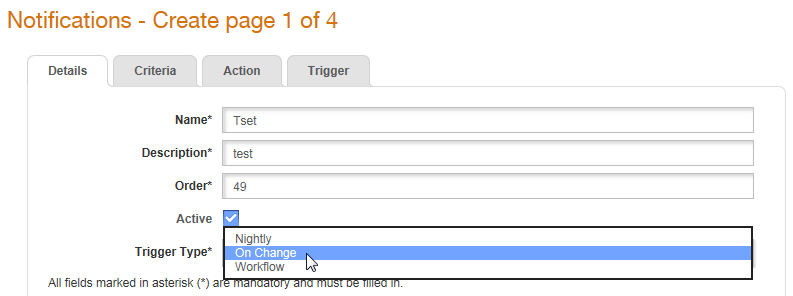
o Select the On Change option to trigger the notification if there is a change in the system.
o Select the Workflow option to run the notification when a workflow is triggered from a workflow process.
o Select the Workflow Expiry option to run the notification when the period of the workflow expires.
Note: The Trigger tab to define the trigger for the rule will be displayed if you select the On Change option from the Trigger Type drop-down list. When you select the Nightly option, the Run now button is displayed so that the notification rule can be run.
· Section type: This controls which type of questions will be relevant for the notification criteria, action and triggers. Select any of the following options from the drop-down list:
o Supplier Record Section
o Project Record Section
o Performance Review Question Section
o Supplier/Project Link Record Section
4. Click Next.
5. Specify the criteria to apply the rules configured. For example, use conditions or combinations of supplier details to create simple and complex queries.
· Collection: Select the relevant section from the drop-down list (if required).
· List section: Select this check box if it is a list section (if required).
· Tabs: Select a relevant option from the drop-down list (if required). For example, Section status. In Test Value, enter the value that you want to display. For example, Completed.
· Questions: Accept the default value or select a relevant option from the drop-down list (if required).
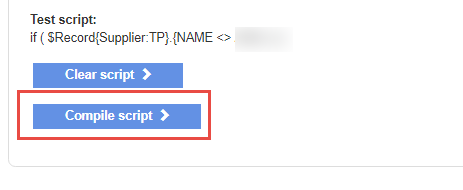
6. Click the Compile script button to ensure that the script added is complete and will run successfully. Otherwise, you cannot proceed to the next step.
7. Click Next to go to the Action tab and perform the following steps:
· Select either Database Update or Function from the Action Type drop-down list.
· If you have selected Database Update, select a Collection from the list, select an option from the Tabs or Field list, and complete the rest of the fields that are displayed.
o If you have selected Section status in the Criteria tab, ensure that the Tabs and Question drop-down lists display Section status as the value. The Profile Status drop-down list should display the status values.
1 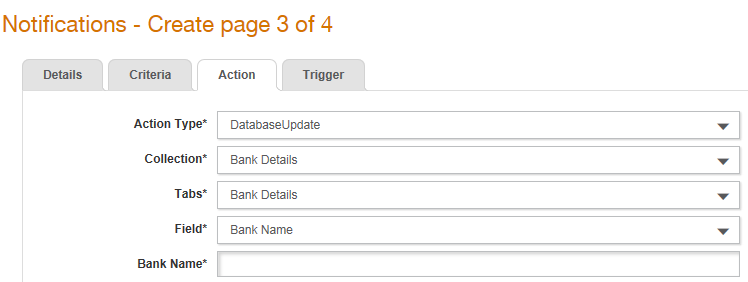
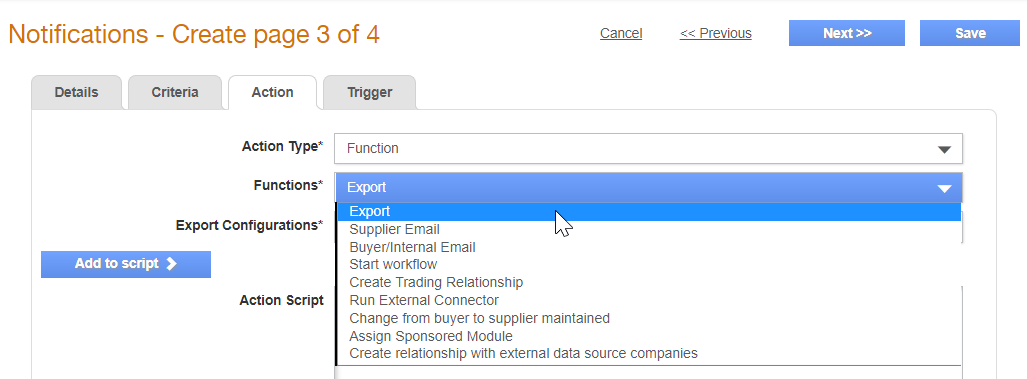
· If you have selected Function, select any of the following options:
o Export: Select this option to export supplier data to an external system.
o Supplier email: Select the corresponding e-mail template from Buyer Email Configuration to send e-mails to suppliers.
o Buyer/Internal role email: Select the corresponding e-mail template from Buyer Email Configuration and the user role from Buyer Roles to send e-mail notifications to buyers when a notification is run.
o Buyer/internal user email: This allows users to select a buyer user from a buyer role.
o Start workflow: Select the workflow process from the Workflow processes list for defining a workflow as an action in the notification rule.
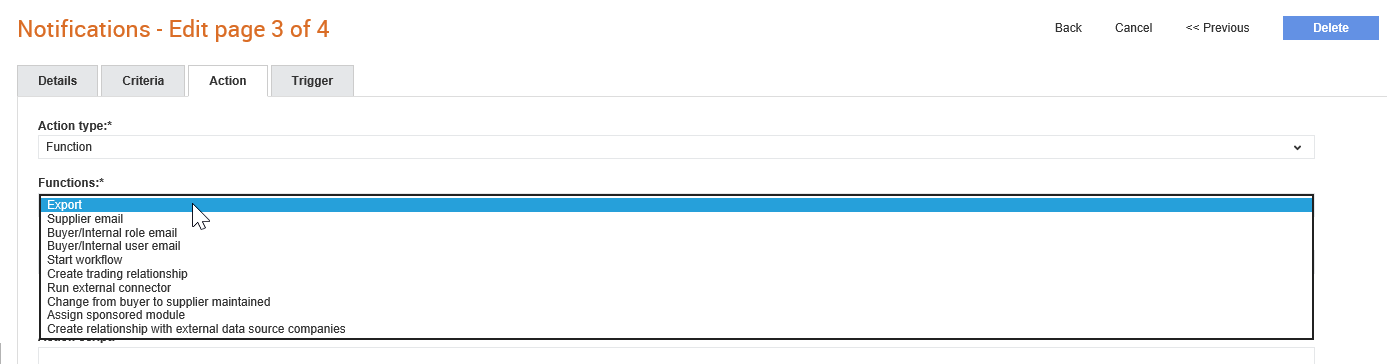
o Run external connector: Select this option to configure a notification rule to run an external connector so that an update can be scheduled to be performed.
o Change from buyer to supplier maintained: Select this option if you want to configure a notification to change a supplier from the Buyer-maintained mode to the Supplier-maintained mode.
o Assign sponsored module: Select this option to sponsor a module to another trading partner.
o Create trading relationship with external data source companies: Select this option to create a relationship between the data source and a supplier when a buyer, who uses an external data source, adds a new supplier to their supply chain.
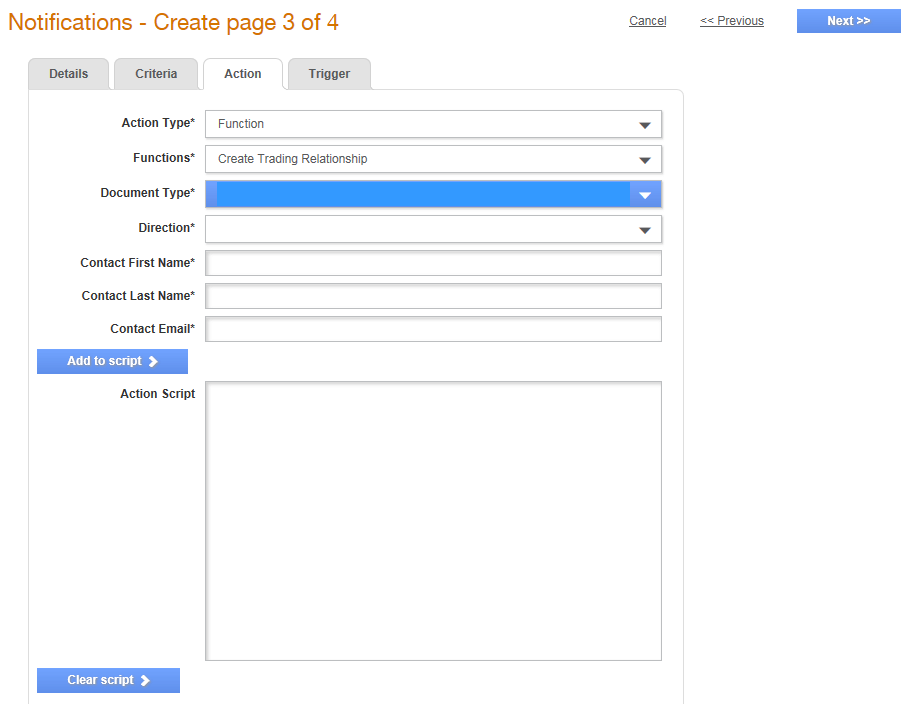
o If you select Create Trading Relationship from the Functions drop-down list, additional fields are displayed depending on the relationship type and the company settings. For example, you have to select the document type from the list, specify the Direction (Send or Receive), Contact First Name and Contact Last Name (the buyer's contact details for any supplier queries about this invitation), and the Contact Email. Select Buyer/internal role email if you want to send e-mail notifications to only user roles that you specify when the notification is run. Select Buyer/internal user email to select the specific user to receive an e-mail when the notification has been run.
You can also select the following functions based on your requirements. For example, to create a relationship between a supplier and a data source company so that the suppliers’ data will be available in the data source, select the Create relationship with external data source companies.
Note: The fields that appear subsequently may vary based on your selection. For example, if you select Bank Details from Collection, the Bank Name field appears. If you select BIM or Environment, the Bank Name field will not be displayed.
8. Click Add to Script to add these rules to the script.
Note: The action script created here may refer to a Reference Number format. For more information, see Configuring the Reference Numbers.
9. Click Next to define the change in system values that triggers the notifications under the Trigger tab. For example, changes made to the company details by a supplier.
10. Select the relevant options in Collection, Tabs, and Question, and then click the Add button.
11. Click Save to save the configured notification.