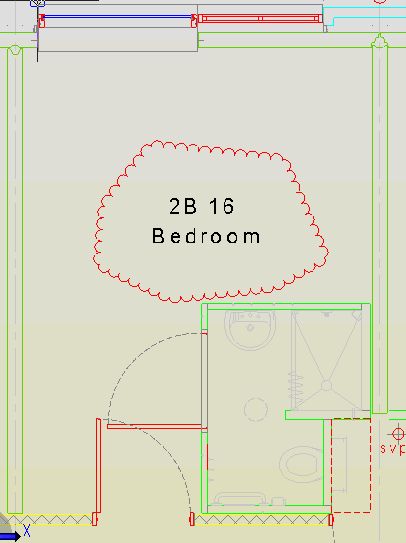
To create a revision cloud of any shape, perform the following steps:
1. Use Object Snaps if required.
2. Set the line colour, line type and line style of the revision cloud line via the Format panel prior to drawing the cloud.
3. Click the Cloud button ![]() on the Markup panel of the Markup ribbon.
on the Markup panel of the Markup ribbon.
4. On the drawing, pick the start point.
5. Move the cursor and pick the next point of revision cloud.
6. Repeat picking points and a looped line will be drawn between the points.
7. Press the Return key or right-click to close the revision cloud back to the starting point.
8. After picking a point press and hold the Shift key to draw the next cloud line segment orthogonally up or down or across the screen. The command will continue until the Esc key is pressed.