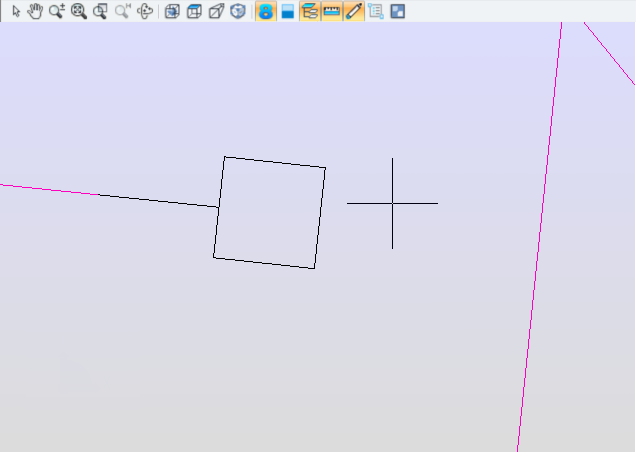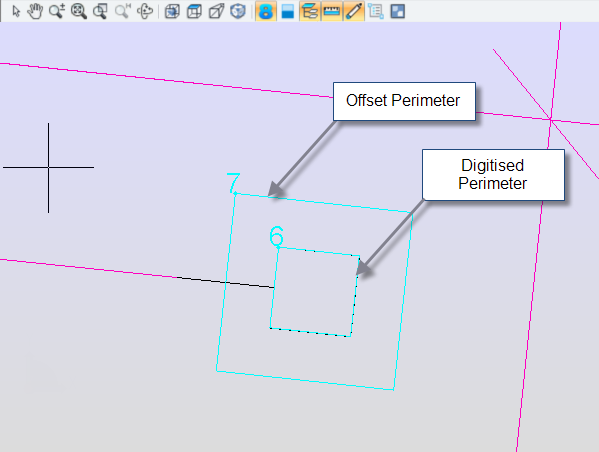
A Perimeter Offset allows measurement of a perimeter length which is then offset a defined distance. As with the perimeter measurement, the digitised points can be linked by straight lines or arcs.
This command is used for measuring perimeters where there are no graphics to snap to but there are reference points. For example, The centre line of a cavity wall or the edge of a foundation when you are only given the footprint of the wall. Given the width of the wall or the distance that the foundation sits outside the wall, it is possible to digitise the footprint, then offset it inside or outside the appropriate amount to get the offset perimeter distance.
1. Ensure the appropriate Object Snaps are on.

2. Start the Command
3. Pick the first point
4. Pick the second and subsequent points
5. At the penultimate point, press the Enter key to close the measurement back to the start point.
6. Enter the offset distance or tick the box to digitise the offset on screen ('Through point')
Note: If the 'Retain Digitised Measurement' box is ticked, you will get 2 measurements: The digitised 'footprint' and the offset measurement.
Click OK.

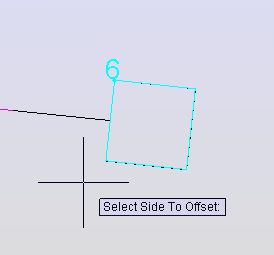
7. Select a side to offset the measurement, either inside or outside the digitised route.

8. The total lengths will be saved as measurements.
9. Enter a note if appropriate
The measurement(s) will appear graphically on screen and in the measurements window with the relevant number(s).
