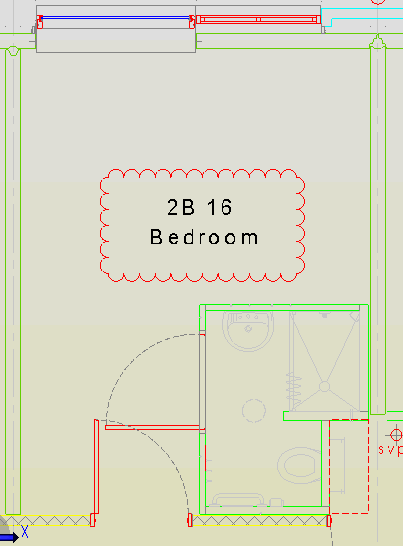
To place a rectangular revision cloud:
1. Use Object Snaps if required.
2. Set the line colour, line type and line style of the revision cloud line through the Format panel prior to drawing the cloud.
3. Click the Rectangular Cloud button ![]() on the Markup
panel of the Markup ribbon.
on the Markup
panel of the Markup ribbon.
4. On the drawing, pick a corner point of the rectangular revision cloud and hold the mouse button.
5. Drag the cursor to a diagonally opposite corner.
6. When the revision cloud is at the correct size, release the mouse button. The command will continue until the Esc key is pressed.
Note: After picking the first point, holding the Shift key whilst dragging to the opposite corner will draw a square revision cloud instead of a rectangular one.
