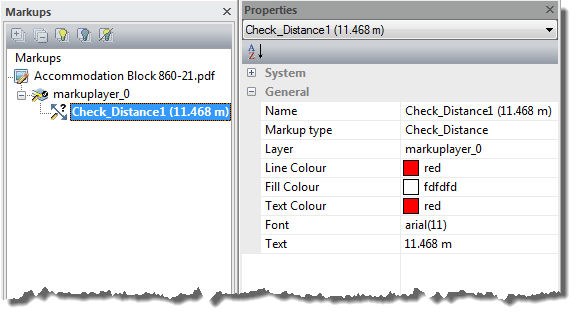
The ability to check a distance is particularly useful to confirm the scaling of .pdf files. It adds the Check Distance to the drawing as a markup rather than a measurement in the measurement grid.
Note: The Check Distance button does note get updated if the drawing is re-scaled.
1. Use Object Snaps if required.
2. Set the line colour, line type and line style of the line via the Format panel prior to selecting the Check Distance command.
3. Click the Check Distance button ![]() on the Markup
panel of the Markup ribbon.
on the Markup
panel of the Markup ribbon.
4. On the drawing, pick the first of the two points between which the distance is being checked.
5. Move the cursor and pick the second of the two measurement points.
6. After picking the first point, press and hold the Shift key to draw the line orthogonally up or down or across the screen if required.
As the cursor is moved a check distance line will rubber band from the first point and the distance to the second point will be continually updated. The command will continue until the Esc key is pressed.
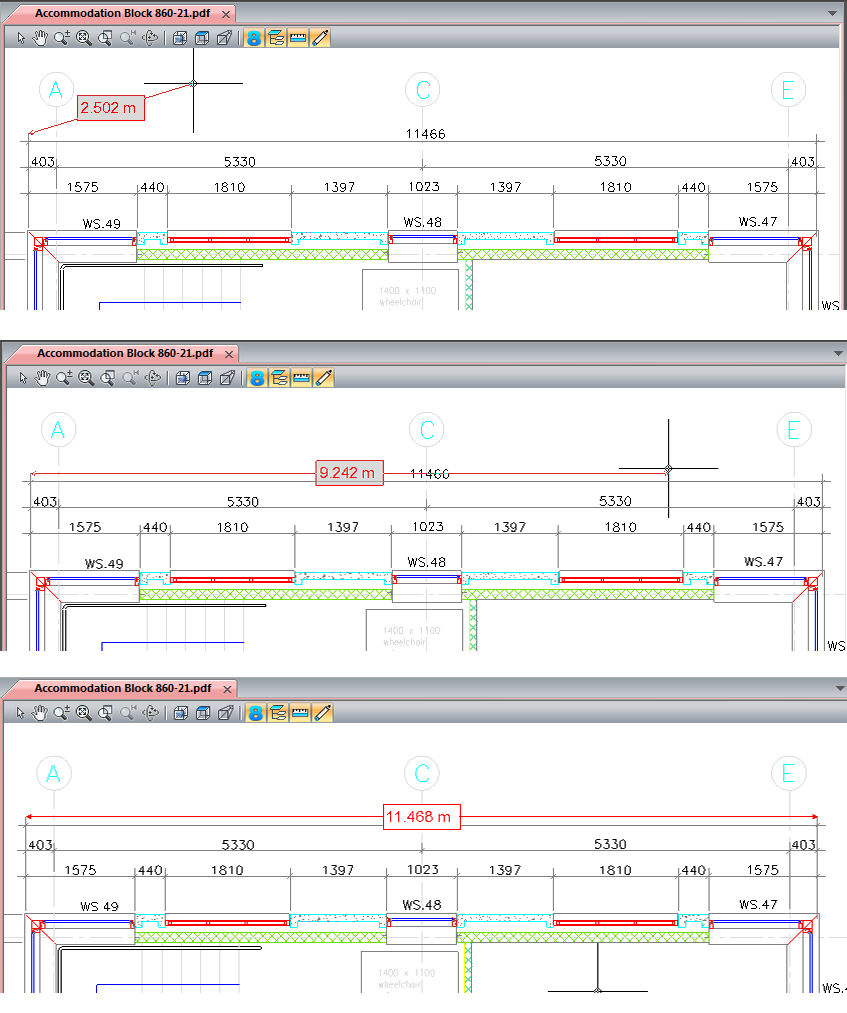
In the following screenshot a relatively short, vertical distance was used to scale the drawing initially. A check is being made on a longer, horizontal distance to ensure the scale is the same in both the X & Y axes.
Use the Markups tab and Properties panel to control the appearance of the Check Distance.
For more information, see Markups Window and Properties Panel.