After the pre-processing is done for the Microsoft Excel Format files, you can import the Microsoft Excel file as described in this section. For more information, see Pre-processing Microsoft Excel Files before Import.
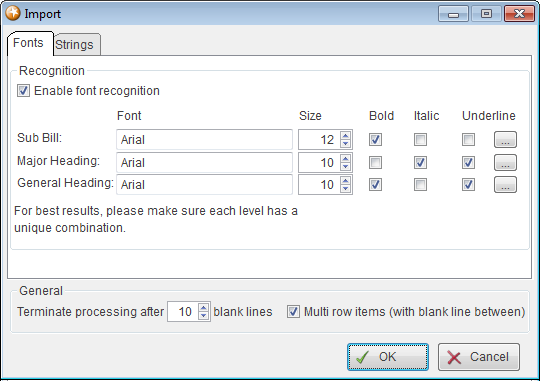
The Import dialog box is used to configure the settings before the importing the Microsoft Excel files into CES. The Import dialog box comprises of the Fonts and Strings tabs. The Terminate process after blank lines field of Import dialog box is used to ensure that the import routine stops processing after it has found blank lines in the source Microsoft Excel file. The Microsoft Excel file may contain thousands of rows and if there is no data to import, the system will spend considerable amount of time is wasted for processing the Microsoft Excel file.
To import the Microsoft Excel Format files, perform the following steps:
1. Close all the estimates and ensure that you have not currently have an estimate open (if any).
2. Select Import > Microsoft Excel from the File menu.
3. Browse and choose the Microsoft Excel file that you want to import into Causeway Estimating, and click Open.
The Import dialog box is displayed similar to the following screenshot.
4. Configure the font recognition options in the Fonts tab. For more information, see Enable Font Recognition.
5. Configure the control strings in the Strings tab. For more information, see Understanding Control Strings in Microsoft Excel.
6. Enter the number of lines after which the import process must be terminated in the Terminate process after blank lines field.
Note: Configure 50 blank lines as the value in the Terminate process after blank lines field for optimal performance. However, if you know that your document has many blank lines in between the information that you want to import, you may change the Terminate process after blank lines field to an appropriate value.
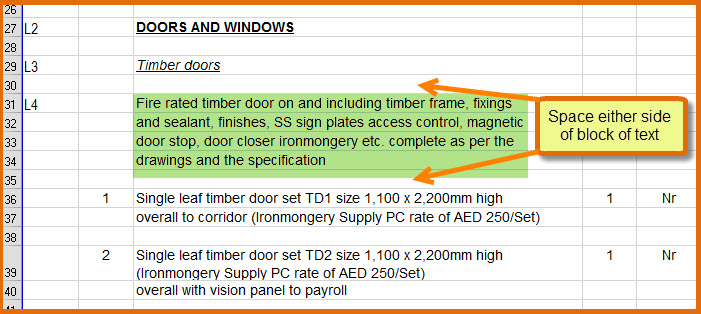
7. Select the Multi row items (with blank line between) check box to import the data that has been formatted into multirow items. In the following example, the headings have each row of heading in a different Microsoft Excel cell. Also, it looks for space either side of each text block and treat block of text as single text heading. The Multi row items (with blank line between) check box must be selected if you have this type of formatting in your source Microsoft Excel file.
8. Click OK to start the import.
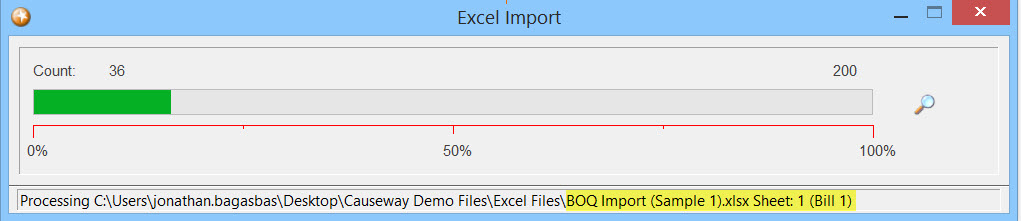
If there are multiple worksheets in the source Microsoft Excel file, the import routine will work through the series of bills: Bill 1 (as in the following screenshot) and then Bill 2.
After the processing has been completed, you will be prompted to confirm the Bill No. and title for each bill that will be set up in the estimate as in the following screenshot.
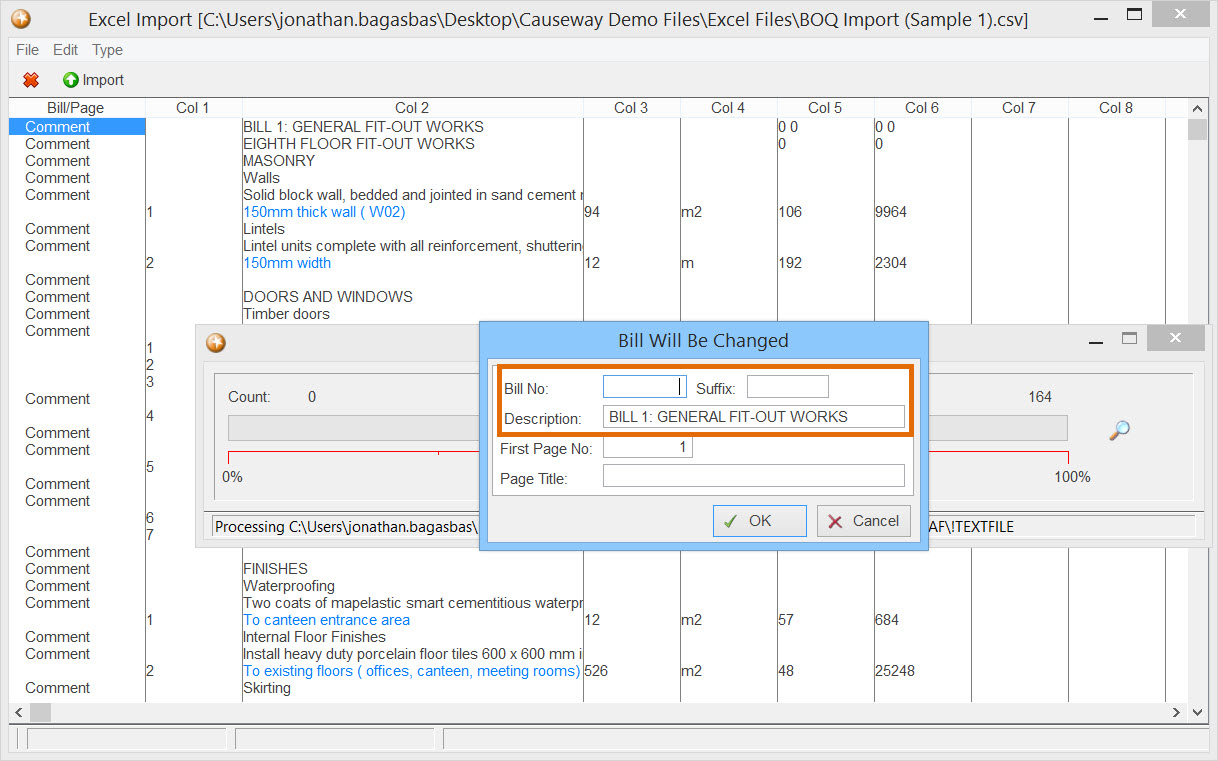
9. Enter the bill number in the Bill No. field and check whether the description is accurate in the Description field.
10. Click OK (this will repeat for all the bills you are importing).
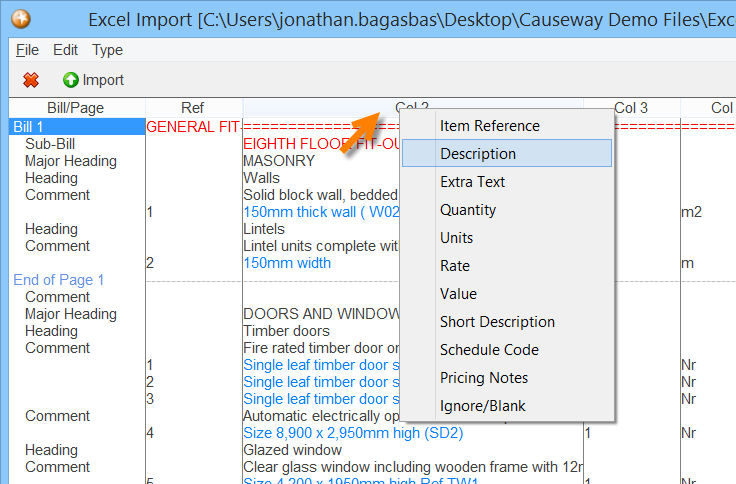
11. Map the columns in Microsoft Excel to columns in a bill of an estimate:
· Double-click each column heading (Column 1, Column 2, Column 3, etc.) to allocate the data in each column in the spreadsheet.
A menu is displayed with the list of columns in a bill.
· Select the appropriate option from the menu as in the following screenshot.
12. Click Import to import the Microsoft Excel file.
13. Perform any of the following tasks:
· Import into an existing estimate: Click and select the required estimate from the list, and then the import will start.
· Import into new estimate: Right-click and select Insert to add a new estimate. Once you have added the new estimate details, the import will start.
After the Microsoft Excel file is imported, you can then open the estimate. A confirmation message to remove the temporary import files is displayed. This temporary import files contains all the items and the column allocations that you have entered and can be stored for future use.